


Most people that own ecommerce website would view content marketing efforts as redundant.
However, that is far from true.
Content marketing has many benefits, even for an ecommerce site
For one, content marketing efforts allows you to be more searchable. By writing articles related to your niche, you are able to introduce new visitors to your website.
Not only does it make you more searchable, it also gives visitors a reason to return to your site. Because let’s face it, not everybody that comes to your site is ready to make a purchase.
If you fail to make the allowance for such visitors, you risk letting them slipping through your fingertips.
Ecommerce content marketing beseeches for a shift in paradigm.
No more will content mean product focused pages. Instead, we are looking at content that will appeal and resonate with customers, even visitors.
Simply put it, we are broadening our scope and aiming for even those apples that are not yet ripe.
You don’t know how to start?
Well, fret not for here are 13 content marketing ideas that you can get started on today.
1. Create a List Post.
List posts are no strangers to consumers. It is a formula that so many bloggers and media sites use. Their popularity stems from the fact that it is both easy to produce and loved dearly by their readers.
A good list post is one that is dense with helpful practical takeaways, easy to understand and has a clear theme and topic.
Interested to create a list post? Here’s how you can do it:
#1. Define what the list is to be about. – With the industry in mind, note down possible topics. These topics should appeal the audiences today. Besides keeping up
with industry developments, spend time where your customer hang out like forums, blogs and social media.
#2. Decide the number of items on the list. – Magic number? No such thing. It all depends on the type of list. If you want it to be a ‘best of’ list, anywhere from 11-25 is good. But, if you are doing a compilation of resources, a larger number would be fitting.
#3. Search for potential items. – Start looking for ideas by browsing through websites and brainstorming. View this step as a ‘brain dump’ and list whatever that seem to fit. As a gauge, you will want to have at least 10% more than the agreed number of items.
#4. Review the list and start refining. – With the list, evaluate the items and see if they are suited for the list. Not only should the idea be complete and a strong point on its own, it should also blend well with the rest of the items on the list.
#5. Organise and order the list. – The correct order is critical. Studies
have shown that readers pay the most attention at the start and end of the post. Hence, place items that are stronger and more unique at the first, second, penultimate or last item of the list.
#6. Come up with a killer headline. – For a list post, the headline is important as it doubles up as the title of the list. To make an impactful headline, it should contain: the number of items on the list, the topic, a time frame and a promise.

Example: Top 8 Places to Walk Your Dog This Summer in Johannesburg, Cape Town and Durban
02. Address an Open Letter to your Customers
An open letter is a letter that has an addressee but intended to be read by a wider audience
While commonly used to address serious issues that demands change and progress, they are also used for lighter topics. As the tone of an open letter tends to be more conversational in nature, it allows you to take on a personable voice.
A good open letter is one that engages the reader and is able to relay the points in a clear and impactful manner.
Interested to write an open letter? Here’s how you can do it:
#1. Consider the aim of the letter. – As mentioned prior, an open letter need not be solemn and grim. Deciding on this is critical for it will tell you what points should take centre stage, the tone of the letter, and the choice of words to be used.
#2. Find a place to write undisturbed. – Distractions can break your train of thoughts and crush creativity. Try to isolate these distractions and find a place where you can write in peace, without interruptions.
#3. Roll up your sleeves and write. – Set a day aside to write. At this stage, don’t worry too much about getting it perfect. Here, you want to focus on getting your points down and making sure that the letter is organised and structured.
#4. Take a break and let it steep. – After the last full stop has been placed, save the document and head out for a breather. This short break may seem trivial, but it helps clear your head and freshen you up for the next step.
#5. Edit, edit, edit and edit. – Editing is critical for any written piece. It helps smooth out rough edges and gets it ready to go live. Copyblogger suggests that each piece should go through four rounds of editing
each time tackling a different aspect of writing.
#6. Read it again before hitting publish. – By the final read through, most of the glaring issues should already be fixed. This read through is to make sure that everything is in order and to tuck away any stray ends if necessary.
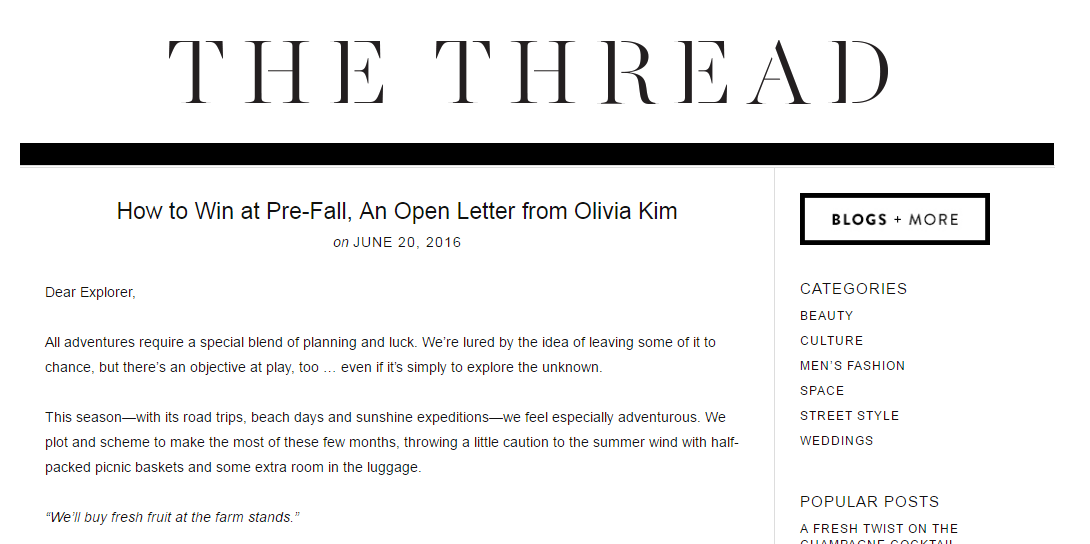
Example: How to Win at Pre-Fall, an Open Letter from Olivia Kim
03. Answer a Question that Customers are Curious About.
Even though you may not hear them, questions about your product and brand do exist.
The thing about questions is that if you do not answer them somebody else would. And if that’s the only answer that your customers can find, then that would be the answer they subscribe to. Even if it’s inaccurate or outdated.
To prevent miscommunication between your brand and your customers, do not wait for somebody else to answer the question. Be proactive in answering questions and clarifying their doubts.
A good answer contains facts that are accurate and true at the time of response. It should also clearly relay the stand of the company.
Interested to answer a question? Here’s how you can do it:
#1. Look for questions. – Customer support would have some data on questions asked by users. But those would usually be product related questions. For general business enquiry, you may want to try user forums, like Quora, and social media sites.
#2. Pick a suitable question to answer. – Suitability comes in many forms. It can either be a popular question or a question that quizzes about the current events of your company. Alternatively, you could opt to go for an interesting question.
#3. Gather information and sieve through it. –The question should give you a general idea of who your audience is. As you are doing your research and gathering information, make sure the points you’ve listed are suitable for the audience.
#4. Pen down the answer. – Now your points are listed, it’s time to pull the post together. Organise the points in a manner that is easy to follow and understand. Also, use terms that they would be familiar with.
#5. Send the finished post to be vetted. – Before you hit publish, let somebody qualified to vet through the post. The reason for vetting is to double check that there is no error in in the representation of the facts.
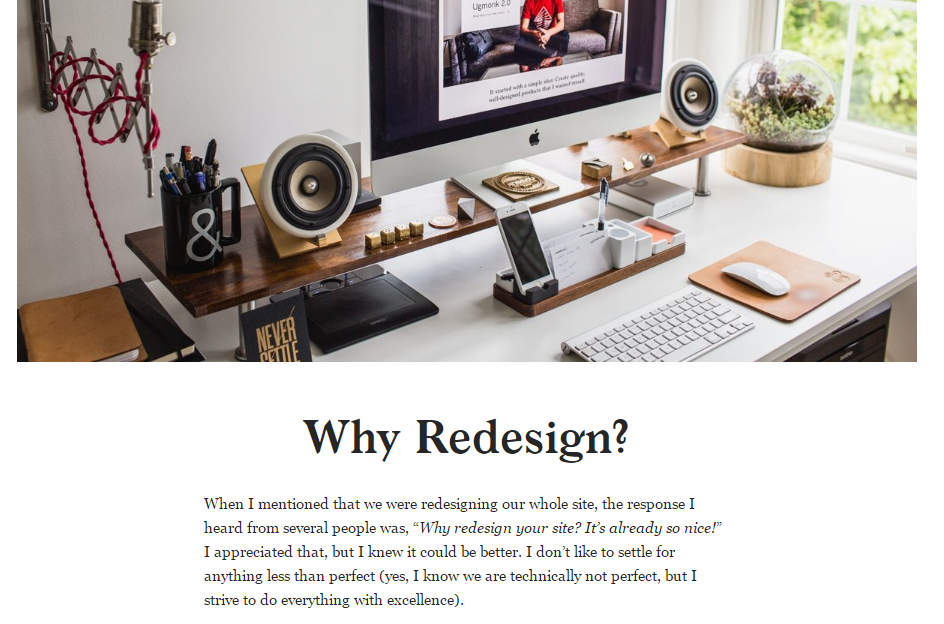
Example: Why and How we Rebuilt our Entire Site, What is E-Commerce, What Is SSH Accessibility?, Increase E-Commerce Conversions
04. Pull Together a Gift Guide
A gift guide is perfect, especially when it is nearing the festive seasons. However, there is a thought that says that gift guides are only feasible for small ticket items. This is far from the truth. Gift guides are suitable for all business types.
Recall how at the start of this post we have already established that content marketing efforts aren’t solely to convert customers into buyers but also to introduce strangers to your brand. The guide need not be directly related to your niche. An indirect relation is good enough.
Interested to pull together a gift guide? Here’s how you can do it:
#1. Identify the context of the guide. – Before you start sourcing for potential gifts, first confirm the basis of the purchase of the gift. You can go about this by confirming either the identity of the recipient or the occasion of the gift.
#2. Come up with a buyer’s profile. – To plan a good gift guide, it is important to take into consideration the buyer, who is also the reader. Figure out the relationship the buyer has with the gift’s recipient and also the predicted budget he would have.
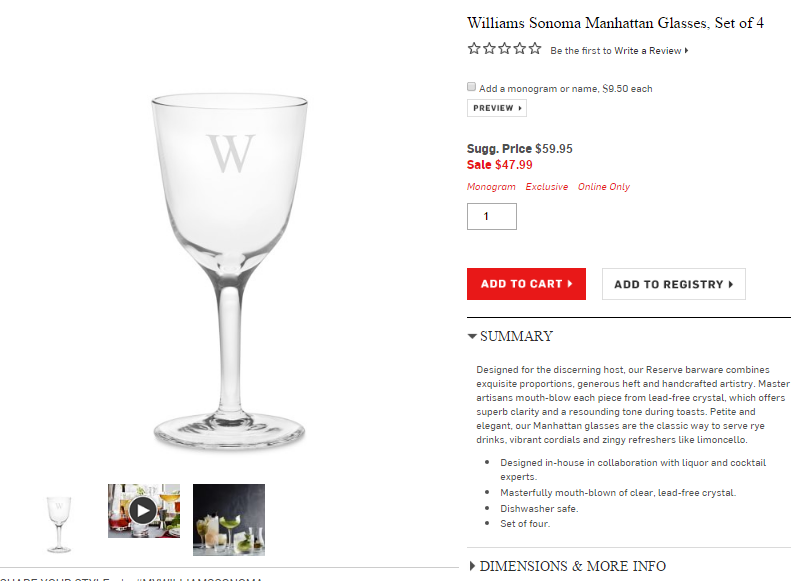
#3. Find 7-10 items that fit the theme. – With the context and the buyer’s profile in place, it is time to find items to go into the list. Try to fill the list with items that you hold. However, if unable to, you may include products from elsewhere.
#4. Give a short reason for recommendation. – After suggesting the item, give a short reason behind why this product has made it into the list. If it’s your product that you are recommending, this is a good way to slip a good word for it.
#5. Include pictures of the items. – For each item, include at least a picture. The picture would give the buyer an idea of what the product look like. Try to choose a picture that is visually appealing.
#6. Provide purchase links. – Even for products that aren’t yours, include a purchase link. There are many ways to leave a good impression; one of which is providing a good user experience. Hence even though this may lead customers away, in the long run they may return because of the good experience they had.
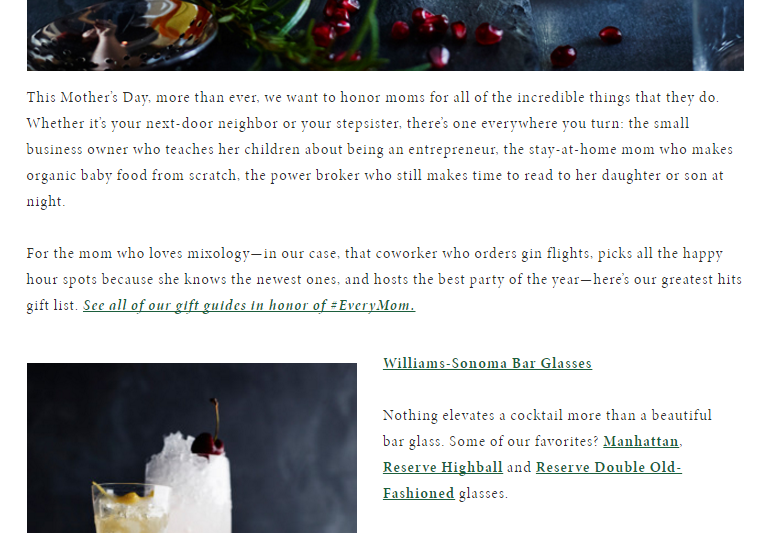
Example: The #EveryMom Gift Guide
05. Record a Podcast Series
If there is anything we noticed about users of this generation, it is that they are always listening to something when on the move. Imagine if you could deliver your content in an audio form.
Well, you actually can. It is called a podcast. It works like an audio blog post and can be downloaded by the user for future listening. A podcast is a good way to make your content easily accessible
Interested in recording a podcast? Here’s how you can do it:
#1. Decide the format of the podcast. – Discuss with the team the structure of the podcast. Things to consider are the length of each episode, schedules (uploading and production), the series’ theme and a rough episode list.
#2. Secure logistics for recording. – Logistics for a podcast recording includes recording equipment
software, location and guests. Make sure that you have sourced and located all of these things before you start recording.
#3. Prepare a recording ‘script’. – This ‘script’ is not meant to dictate every word you say. Rather it acts like guide; it gives you a general sense of direction. Hence, the level of detail is not fixed and depends on what you are most comfortable with.
#4. Set up and record the episode. – Make sure that your equipment are set up and properly connected to the software. You do not want to be caught in a situation you realise that nothing has been recorded after the recording ends.
#5. Edit and refine the recording. – After recording, post production kicks in. Tighten up dead pauses between phrases and make sure that the vocal volumes are equal across presenters. Include any pre-recorded soundtracks and effects.
#6. Gather a group for a final listen. – Just like how you would read through a blog post once before it goes live, give the episode a listen through. Look out for any areas that require tightening up.
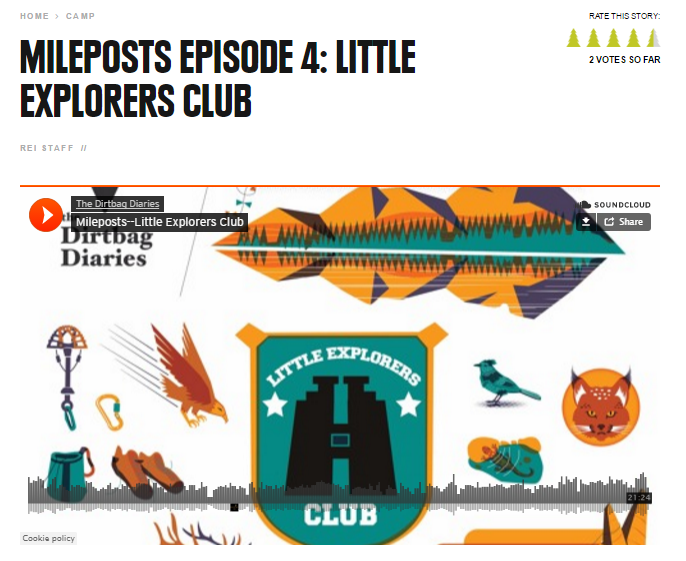
Example: Milepost
06. Introduce an Employee
Introducing an employee is a good way to inject some warmth into your company.
It allows customers to see you beyond being just a brand. I dare say that the act of introducing your employees is akin to you introducing your significant other to your family. It is a simple yet heart-warming gesture that humanises your brand
You can choose to introduce anybody, managerial or entry level. However, when you introduce your employee to the public, that employee represents the company. Hence, be careful in choosing who you interview. You want the interviewed personnel to be somebody who upholds the value of the company.
Interested to introduce an employee of yours? Here’s how you can do it:
#1. Decide on the question mix. – There are two types of questions: personal and work related. The question mix depends on how you want the customer to feel. If you want them to feel like they are part of the company, ask more work related questions.
#2. Come out with a question set. – As this is just a simple introductory post, there is no need for an extensive list of questions. Anywhere from 5-7 questions is sufficient. Apart from the few default questions, try to include in some unique questions
#3. Nominate the Chosen One. – Come up with a selection criterion and email them to the various section heads. Explain to them briefly what the post is about and ask them to select a member or two from their section to take part.
#4. Email them the question. – Now that the Chosen One has been named, email them the questions along with the details of the post. You will want to include in details like guidelines, company policy, the date they have to reply by, and word count.
#5. Check the response. – After you have received the reply, check that it complies with company regulations and contains no pressing language issue. If there are areas that need to be touched up or changed, send it back and request for it to be revised.
#6. Attach a flattering photo. – In an ideal scenario, a photographer will help take a photo of said employee. However, if you lack the resources for it, you can ask them to submit a photograph. However, it has to adhere to company guidelines.
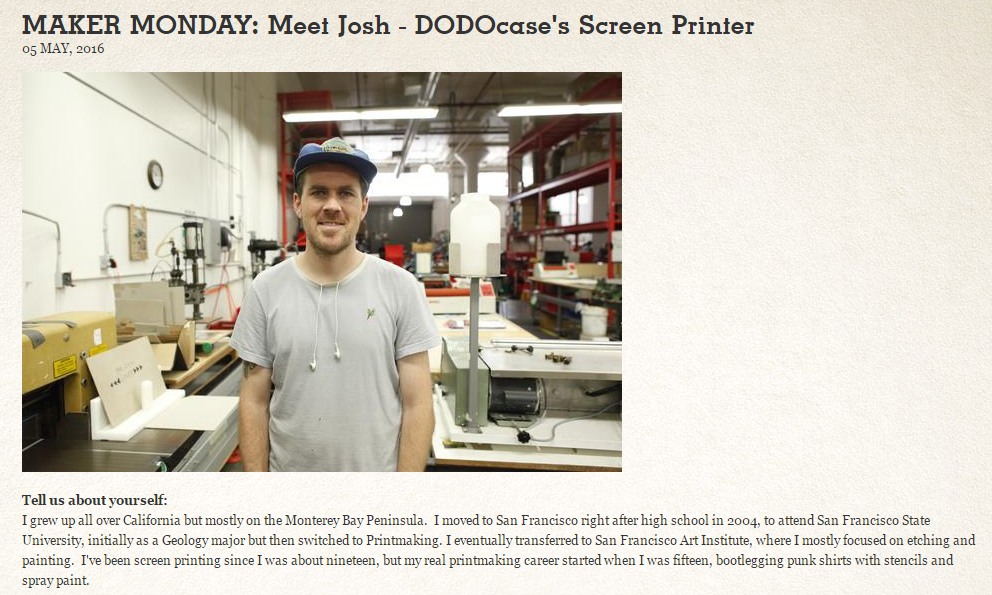
Example: Maker Monday
07. Set up an Events Calendar
A calendar is a useful tool for your customers
especially if your brand participates in a lot of workshops, expos and convention.
Even if you don’t attend a great deal of them, a calendar is still a plausible content marketing idea for you. Sure, they may not see you at a fair that they are going to attend. However, by creating this article and promoting it, you are creating opportunities for them to find your site.
Another way that you can look at events is online events like webinars and Google Hangouts.
Interested to set up an events calendar? Here’s how you can do it:
#1. Decide the type of event. – ‘Events’ is a broad term and can mean many things. If your industry is really active, an umbrella term may lead to an overwhelming amount of events. Hence, decide carefully on the type of event the calendar would cover.
#2. Gather a list of events. – Go through the internet and your contact list and compile a list of events. In the spread, remember to note down the details of the event, the organiser, where you heard about it and also the event’s webpage.
#3. Cut and trim when necessary. – If the list has gotten too long, trim it down by putting parameters like location, date and time, price range and organiser. If you are not in favour of setting up parameters, you can choose to only feature a number of events.
#4. Organise them chronologically. – A calendar works best when listed in chronological order. Place the earliest event as the first item and the latest event as the last.
#5. Attach details of the event. – Details include date, time, location, a short description of the event, registration period and the link to the event page. Most of the details should be available on the event page.
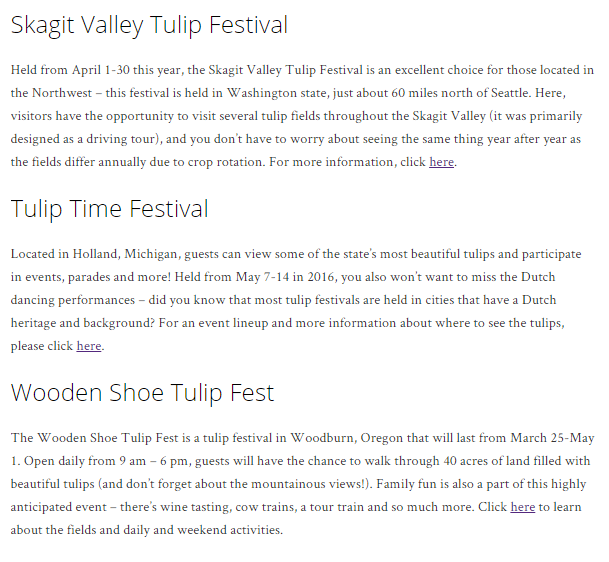
Example: Top Tulip Festivals in the U.S
08. Talk about a Trend
Going with the flow is usually a phrase that is met with a lot of disapproval. However, in some instances, going with the flow can prove beneficial. Trends are one of such instances.
In commerce, when we say that something is a trend it implies that that item is highly sought after by customers.
An item that is highly sought after by customers is also an item that will be highly searched after. Hence, when you talk about a current trend in the industry, you are leading people to your website as your site would pop up when they are searching for said item.
Interested to talk about a trend? Here’s how you can do it:
#1. Research and cross refer. –Unless you hold a big market share, news about a trend would not originate from you. Hence, spend time around user forums and industry blogs and be kept abreast with the shifts in customer’s preference.
#2. Choose a trend from the list. – Each season is filled with trends. From the list of trends, choose one to talk about. The trend that you pick need not be the most popular trend rather it should be something that you are confident to offer your readers.
#3. Read more about this trend. – Before you write the post, you want to know what the trend is first. Look into its characteristics and backstory. All this information will come in handy when you are to pull your post together.
#4. Write the post’s introduction. – Start the post with getting your readers all on the same page by giving a brief introduction of what the trend is and how it has evolved till today. This is where your research on its background would come in handy.
#4. Show them how it’s done. – It is always good to include in pictures of the trend in action. You can refer to a photograph (remember to ask permission and credit the original) or you can organise a photo shoot if you have the necessary resources.
#5. Include links of your product. – Finally, after you are done introducing the trend and showing how it is pulled off, it’s time for you to shine. Select a few of your products that fit the trend description and include them into the post.

Example: The Greatest Hits: The Blazer, Notification & Pop Up Message
09. Create a Glossary
In every industry, there are a cluster of words that are unique to that industry. Those words are what we call ‘jargons’. And unless you are in the industry, or are familiar with it, there is a high chance that you would not know what those jargons mean.
That is when the glossary comes in handy!
Now you may be thinking, “Why do I need to do that? Isn’t that what Wikipedia is for?”
True! Your customers can go onto Wikipedia or other online dictionary to learn find out the meaning of those technical words. But remember, if they are entering somebody else front door, they aren’t entering yours.
Interested to create a glossary? Here’s how you can do it:
#1. Decide on the keyword. – This keyword acts like a theme. All the words that will be listed will be related to this keyword. As a rule of thumb, you should avoid generic terms (like pianos) and specific product models (like a Yamaha U1 piano).
#2. Gather a list of terms. – The words chosen for this list do not have to be extremely complicated. They just need to be a word that you believe requires clarification and explanation for a normal customer to understand.
#3. Organise the words. – Glossaries are usually organised alphabetically, but that is not the best way. Instead, look through the list and group words that are related together. By grouping related terms together, it makes the content easier to consume.
#4. Read up on their definition. – As good measure, look up the definitions of all the words. Ensure that the source of the definition is credible and reliable. Note down the main points of the explanation instead of copying it wholesale.
#5. Paraphrase the definition. – With the main points as a reference, compose the definitions. Be sure to write it in a language that is simple to understand. As this piece is supposed to explain jargons, as far as possible, avoid using them.
#6. Let an internal expert scan through. – Before the post goes live, let a more senior member in the team look through the work. Their role is to make sure that the explanations are accurate and clear for the layman.
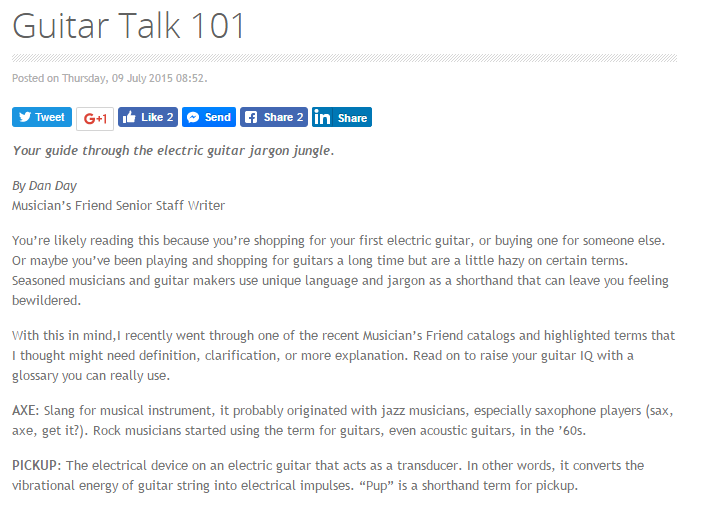
Example: Guitar Talk 101
10. Start a Blog Series
A blog series is – well you guessed it – a series of blog posts.
As all posts in the series is centred on a key point or topic, it is a great way to introduce your readers to something fresh or go into an in depth discussion.
Another way to view a blog series is that it is one giant blog post just divided into smaller blog posts. Because of this, it is easy to persuade visitors to return to your site
for they know that there is still more that you offer.
This can help to get your site on the radar and make customers aware of you and the services that you offer.
Interested to start a blog series? Here’s how you can do it:
#1. Decide the theme of the series. – The theme of the series is critical in the building of a series as it details what it’s going to address. The theme need not be unique or revolutionary, however it do need to be timely for your readers.
#2. Draft out a list of topic to cover. – Grab a piece of paper and jot down any keywords, phrases and concepts that come to mind. From the list of words that you have written, see if you can group them into blog posts
#3. Check the series’ estimated run. – Before you finalise anything, do a brief outline for each post and make sure that the series run is not excessive. While advised to keep the series under a week, consult your content creation team on what a ‘good run length’ would be.
#4. Introduce the blog series. – Before you kick off the series, start with an introductory post. Keep the post short and succinct. The post should outline the topics covered and also highlight what the series is meant to do for the reader.
#5. Write the subsequent posts. – There is no difference between writing in advance and writing after you have heard reader’s feedback, it is merely an issue of preference. More importantly, know how you work best and do just that.
#6. Slip in internal links when possible. – Look out for opportunities to slip in an internal link or two, like a product that you have. Internal links are good as they bring your customers to other areas of your site.

Example: The Boston Proposal Series
11. Create a Blog Post with a Partner
Working alongside with your brand’s partner is another way to come out with fresh content. After all, it is said that two minds are better than one.
But that’s not all! Working with your partner also helps to lighten the load of content production. In such a partnership, it is common for one to be in charge of ideation and expertise while the other oversees the production.
Besides that, it also helps you get seen by more people as not only will you be promoting this joint content but your partner too! This means that not only are you reaching out to your own customers, but also to your partner’s
Interested to create a blog post with a partner? Here’s how you can do it:
#1. Prepare a simple brief. – This may be a collaborative effort, but it does not mean that you approach them with a blank slate. Have at least a brief idea of what the aim of the collaboration is and the form that you want it to take.
#2. Approach your partner. – With what you have, email them and ask if they are keen to join you on this project. State upfront the benefits they can reap by joining this collaboration and also what aspect you would require their assistance.
#3. Brainstorm ways to collaborate. – When they have agreed to come on board, arrange a time for both parties to meet and discuss in detail what the post will be about. By the end of this meeting you should have a sense on what you are going to do.
#4. Agree on the course of actions. – Come up with a timeline that depicts important sign posts, follow up meetings and other necessary appointments. Also, come to a consensus on how the work should be divided.
#5. Keep an open channel of communication. – When working with a second party, communication is critical. Whether it is to seek consent, clarify a memo in the brief, or keep the other party updated, you want to ensure that there is constant communication.
#6. Make sure both parties have seen the post. – As the post is a representation of both parties, make sure that both parties have seen the final version of the post and approved of the content before it goes live.

Example: Margarita Party with HonestlyYum + Recipe
12. Give a Behind the Scenes Look
Your customers, both current and potential, are usually used to seeing the product finished and polished. Hence a good way for you to engage with your customers is to bring them behind the scenes.
When you bring your readers behind the scenes, you create the opportunity to inform and educate them about the work that you do. This opportunity in turn can lead to the forging of a deeper understanding and appreciation to your products and team.
If you have made a claim about your products – for example they’re handmade – a behind the scene can be helpful to back up that claim
Of course, behind the scenes can be used not only for products. It can even be done for advertisement shoots and events.
Interested to give your readers a behind the scenes look? Here’s how you can do it:
#1. Decide on an on-going project. – Select a project based on how interesting it is from the customer’s standpoint. Then, seek approval from the project manager. In the email, explain the purpose and quickly run through what you intend to accomplish.
#2. Gather a team to head down to the set. – Get a company’s photographer and a writer together in a team. The members of the team should be aware of the happenings around them and able to work well without disturbing others.
#3. Finalise details with the project manager. – After you have received the green light, arrange a meeting between the small team and the project manager. Pay attention to set restriction and agree on a day for the team to head down.
#4. Head down to the set. – On the agreed date, send the team to the set. Their role is to photograph, observe and gather as much information of how the project is executed without being too disruptive.
#5. Assemble the post together. – After the visit down to the set, gather the photos and notes and begin assembling the post. Remember to abide to both company regulations as well as the guidelines set by the project manager.
#6. Send it for a round of vetting. – Before the post goes live, send it over to the project manager to check that there is no misrepresentation of information and that the post fits the guideline set by them.

Example: Best in Show: Behind the Scenes with Our Canine Models
13. Share Unique Product Uses.
Every product has an obvious use for it. Like pasta is meant to be cooked and eaten; straws are meant to be used with your chilled beverages and aspirin is for migraines and pain relief.
However, what many may not know is that products can also be used in non-conventional ways. For example, pasta can be strung together to form accessories; straws can be used to store toiletries and aspirin can be grinded into powder and used as a mask.
While the obvious uses of products are known to many, the non-conventional ways aren’t. And more often than not, people are curious about how they can use their products in ways they would never imagine.
Interested to share what unique uses your product has? Here’s how you can do it.
#1. Choose a product. – This product can either be something that everybody has, something that is currently really popular among your customers or something that your customer wouldn’t typically use.
#2. Search for unique ways to use the product. – Pull your brains together and suggest different ways to use said product. If you have really no idea, try logging on to user forums. While deriving ways, try to include in simple to follow instructions.
#3. Test the ideas accordingly. – Follow closely to the instructions and test out the ideas. This step is to make sure that the results are achievable, realistic and just like what the source material has mentioned.
#4. Tighten up the instructions. – Sometimes the instructions may be unclear or incomplete. After testing, go through the instructions again and see if there is anything that you can correct or clarify.
#5. Practice the idea a few times. – A success may be called a fluke. Two successes may be called a coincidence. Hence to ensure that you’re the success is not attributed to chance, repeat the steps a few more times to make sure that the results is something that you can recreate.
#6. Take appealing pictures. – Seeing is believing, that’s what many would say. Once you are satisfied with the end result, photograph the final piece and include it into the post. It will serve as proof that it indeed can be done.
___
by Chloe
source: BEACON